===============
If you have ever visited the Wall of Sheep (WoS) at the Packet Hacking Village (PHV) in DEF CON and just decided to sight see, that's all good. If you were to take away anything from that short visit, we hope you took note of the discretely posted warnings on posters, t-shirts and stickers. Too often, media postings will say that WoS' goal is too shame unsuspecting attendees. Well, I assure you that is not the intent. The WoS mission has always been education, awareness and protection. Here are some of the messages that have been used by PHV thru the years...
"SECURITY AWARENESS FOR THE FLOCK"
"Don't Get Caught Without Encryption"
"On The Air, Beware..."
With that said, let's start with the basics....at a minimal use VPN. The following is ripped from NordVPNs Linux install page. I do not work for NordVPN, but they do claim total anonymity including taking payments with gift cards (Starbucks, GAP, Old Navy...etc.) There are free VPN services out there like VPNBook, but they did not indicate if they are logging or not.
How to connect to OpenVPN via shell:
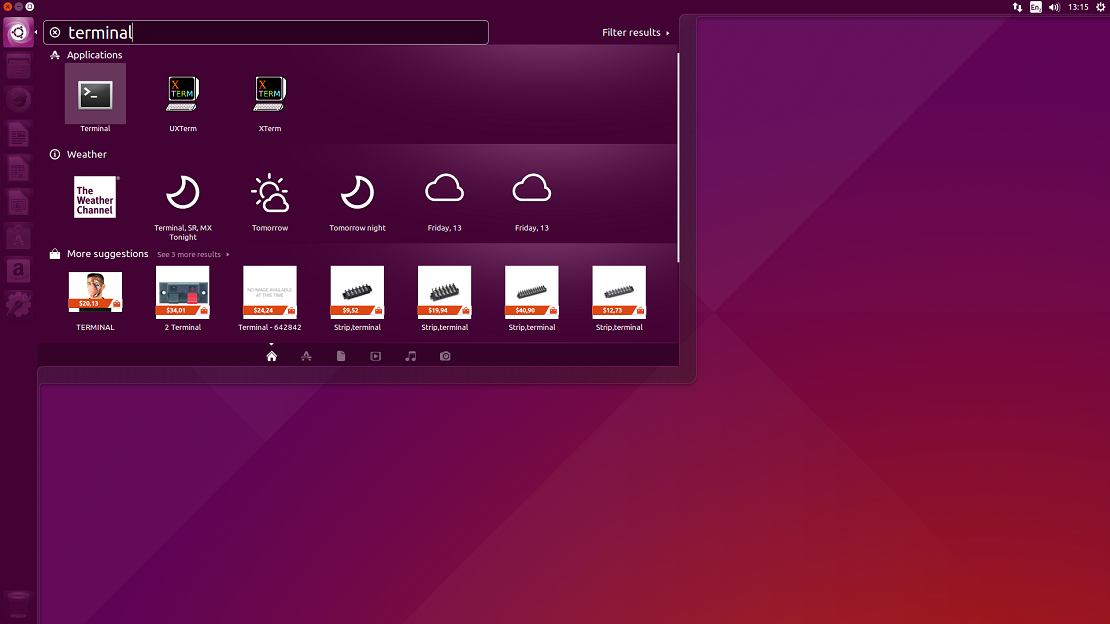
1. Open terminal (keyboard shortcut: Ctrl + Alt + T).
2. Install OpenVPN client by entering `sudo apt-get install openvpn` (if you are requested a password, enter the password which you have used when creating your account).
3. Navigate to OpenVPN configuration directory with command `cd /etc/openvpn`
4. Download OpenVPN configuration files with command `sudo wget https://nordvpn.com/api/files/zip`
4.1. In case you will get `ERROR: The certificate of `nordvpn.com’ is not trusted.`, please install `ca-certificates` package with command `apt-get install ca-certificates`
5. If you do not have `unzip` package installed, download it by typing in `sudo apt-get install unzip`
6. Extract `config.zip` with command `sudo unzip zip`
7. Remove files which will be no longer used: `sudo rm zip`
8. To see the list of all available servers, simply enter `ls -al` command and it will print full configuration file list.
9. Choose a server which you would like to connect to.
10. Start OpenVPN with a chosen configuration by entering `sudo openvpn [file name]` (for example: `sudo openvpn at1.nordvpn.com.udp1194.ovpn`).
11. OpenVPN will ask you for credentials, so simply enter those in with your NordVPN account credentials.
12. You have successfully connected to VPN. To disconnect from the OpenVPN connection simply open terminal and press Ctrl + C on your keyboard.
How to connect to OpenVPN via Network Manager:
1. Open Terminal, Applications->Accessories->Terminal
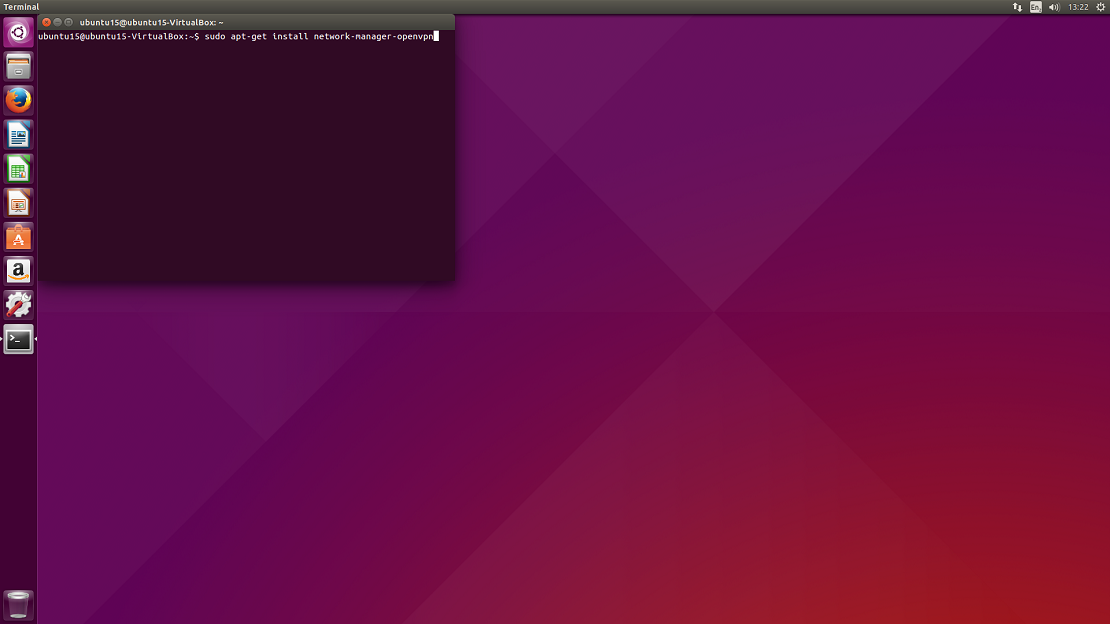
2. Install network-manager-openvpn by typing in Terminal:
sudo apt-get install network-manager-openvpn-gnome
Press Enter (Enter password if it needed).
3. You will be prompted: Do you want to continue? Y/n Type Y and hit Enter.
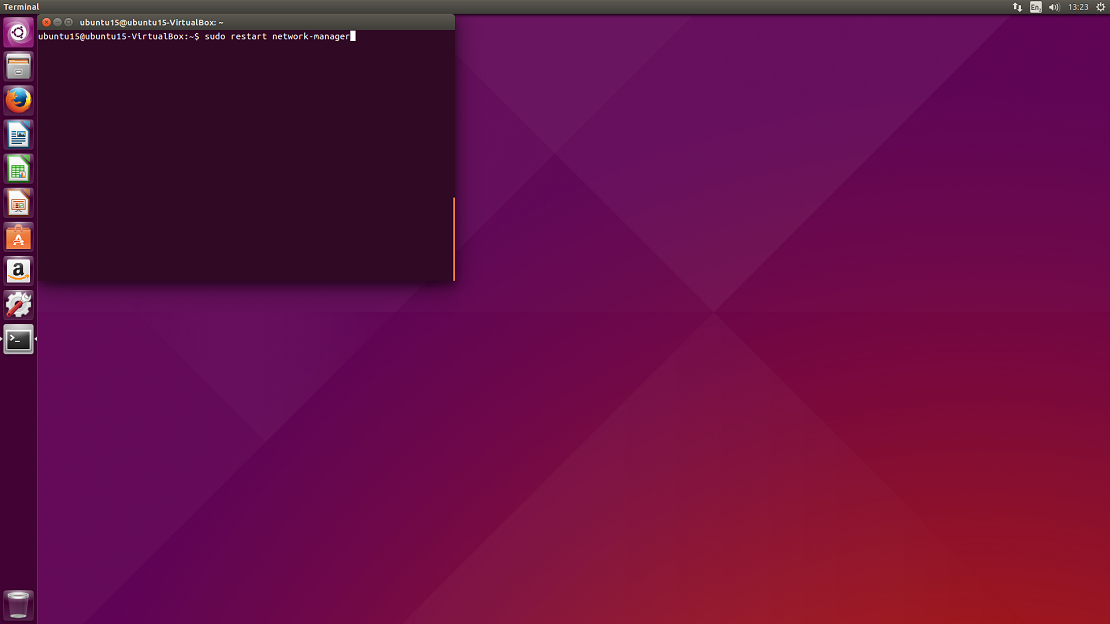
4. Once installation is complete, restart Network Manager by typing:
sudo restart network-manager
Press Enter.
5. Network-manager is now running. Now download OpenVPN configuration files package from: .ovpn file package and CA & tls-auth certificate file package: CA and TLS certificates and extract them.
6. Click on the double arrow button at the top right of the screen and then select Edit Connections… from the drop-down.
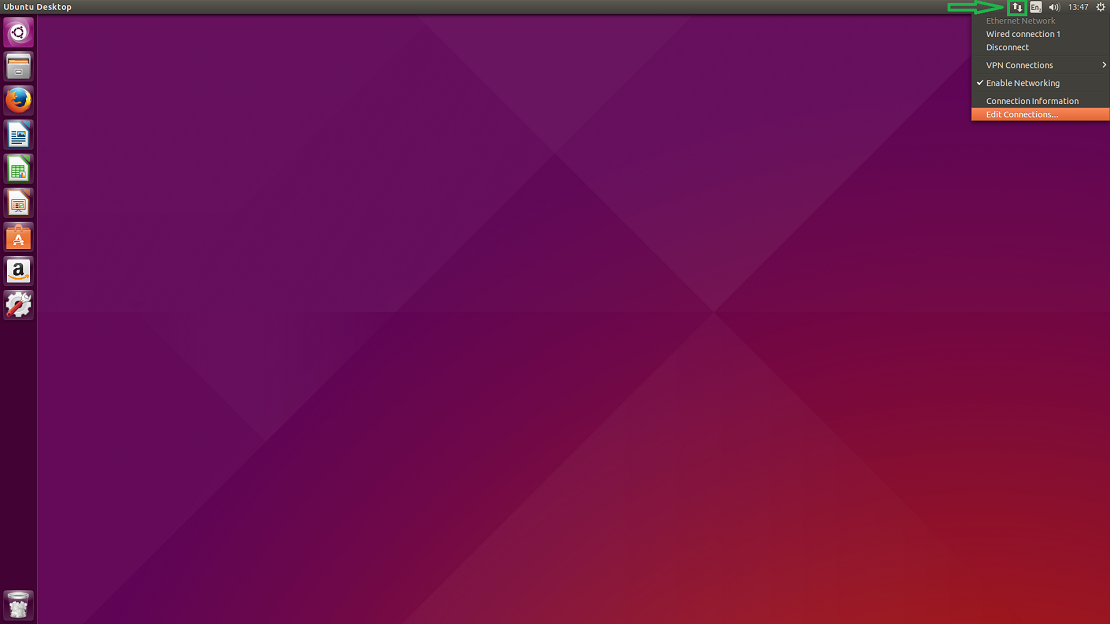
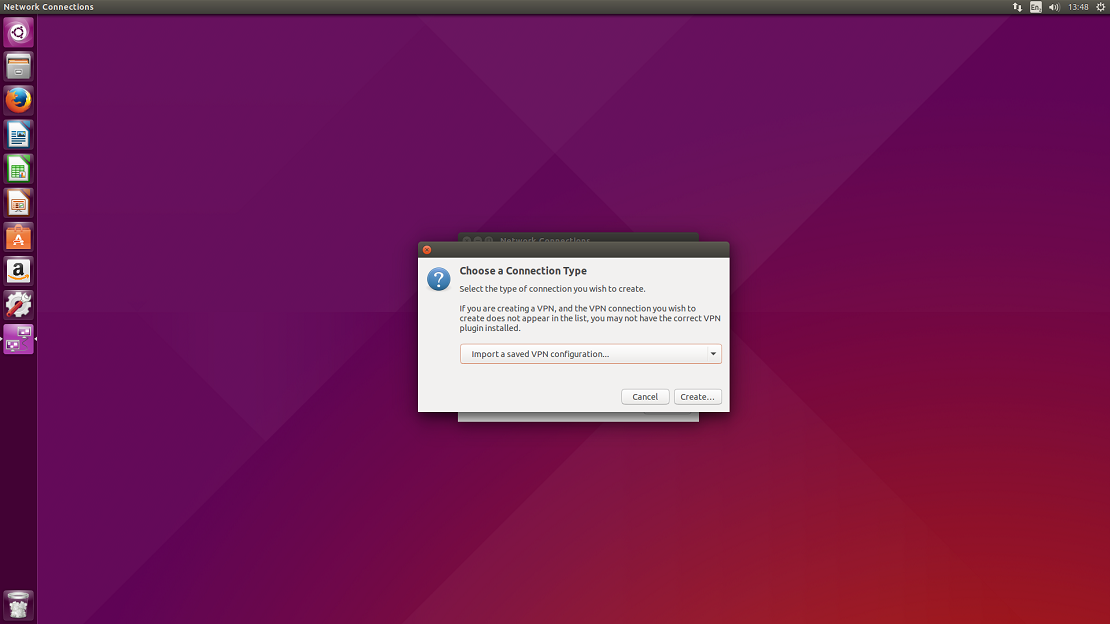
7. You will be prompted to choose a connection type. Select Import a saved VPN configuration… and click on Create…
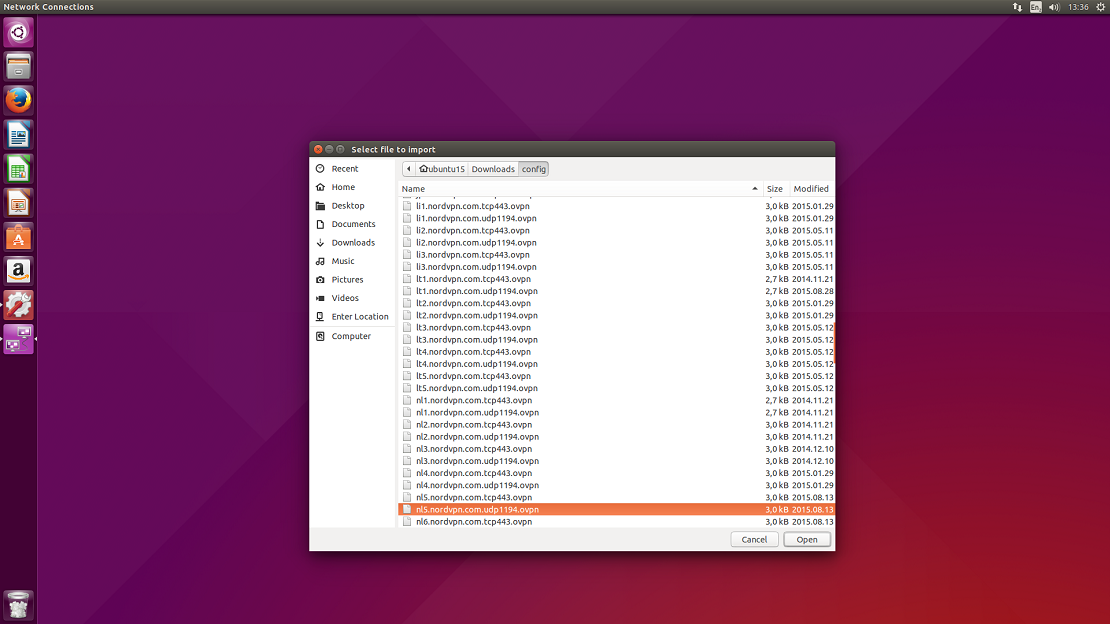
8. You will be prompted a window to select a file that you would like to import. Please navigate to a folder where you have extracted the configuration files and select one of the files from the list and click Open. You can check what file corresponds which server at our server list.
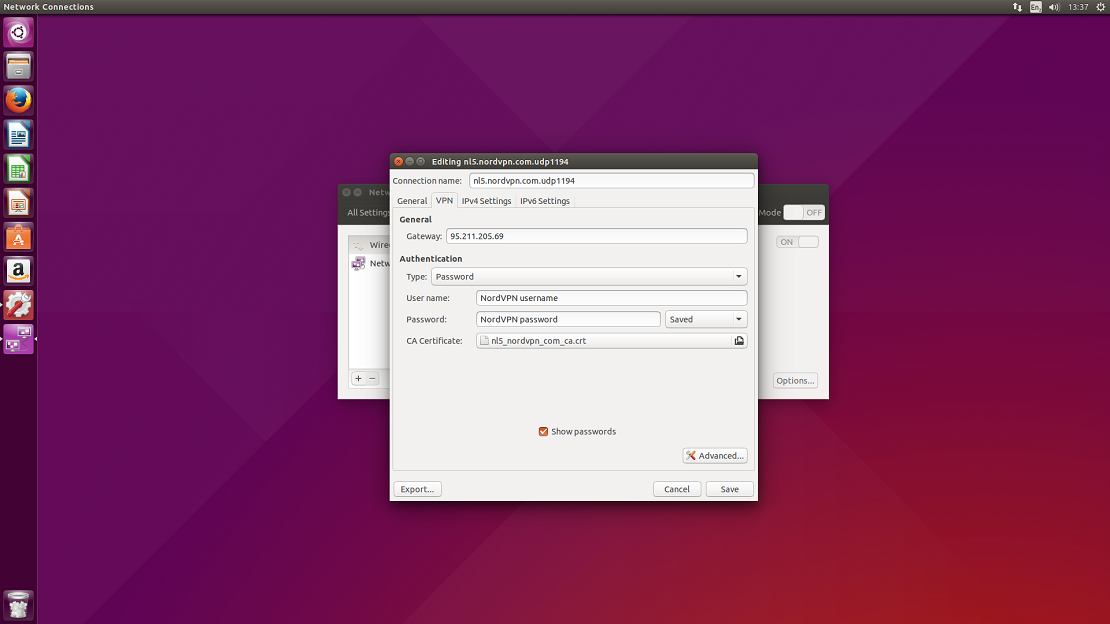
9. In the popped window select VPN tab.
GENERAL
Gateway: an IP or the hostname of the server (usually the server IP is already set in).
AUTHENTICATION
Type: Password;
User name: Your NordVPN username;
Password: Your NordVPN password;
CA Certificate: select a corresponding .crt file to the server which you are setting up, from the certificate file which you have downloaded previously.
Click on Advanced…
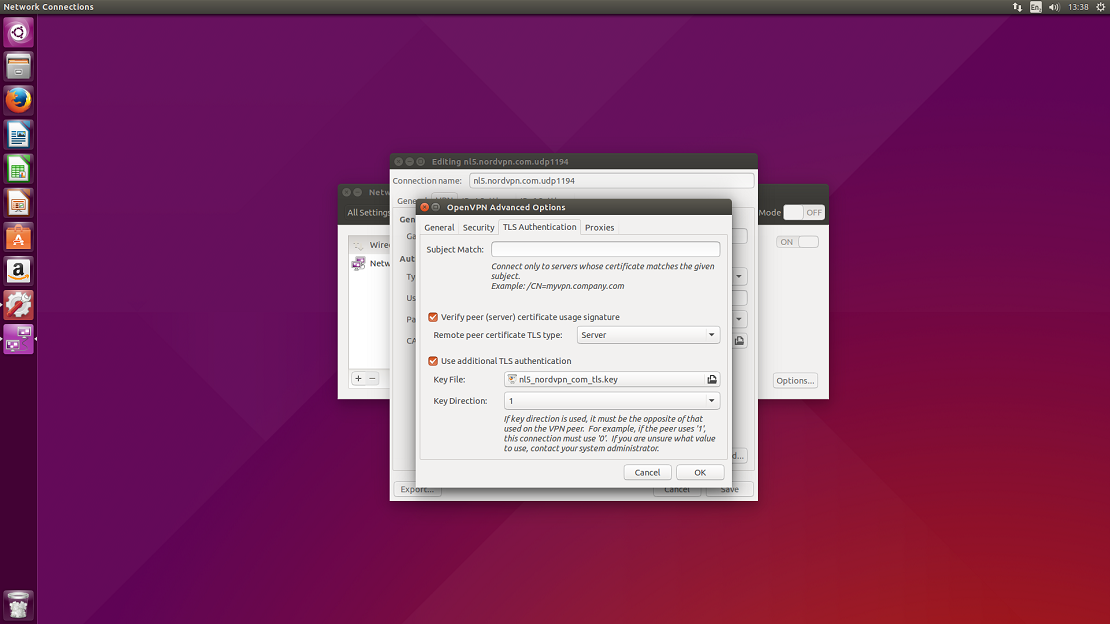
10. Open TLS Authentication tab.
Subject match: leave blank;
Verify peer (server) certificate usage signature: check and select Server;
Use additional TLS authentication: check;
Key file: select a corresponding .key file to the server which you are setting up, from the certificate file which you have downloaded previously;
Key direction: 1.
Click Ok and Save the configuration.
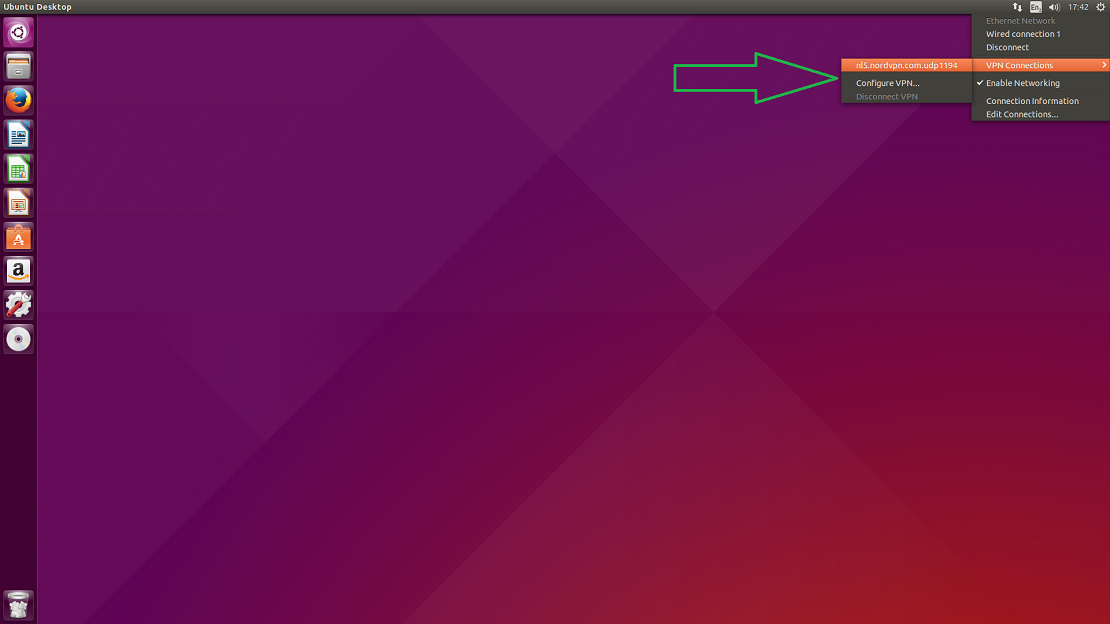
11. Now click on the double arrow button at the top right of the screen again and then select VPN connections from the drop-down.
Select the server which you have set up and click on it.
Congrats! You are connected to VPN. In NordVPN’s site you can check if the connection works well for you. Refresh the website and check if the status is shown as Secured. Until next time friends!